In a time when every license adds to the bill, and with plans for more wall tablets in and around the house, I started looking for an alternative to Fully Kiosk and its Home Assistant integration. I have a paid license for each wall tablet, and with a few more tablets on the way, that was reason enough to look around. Yes, the cost is a fraction of what I spend on everything else, but in home automation we love a good challenge.
That’s how I came across Kiosk Satellite: a free, open-source Android app that is positioned as an alternative to Fully Kiosk. Besides the great web interface that comes with it, I really like the ESPHome integration and the built-in Bluetooth proxy functionality.
Prerequisites
- A way to transfer the roughly 225 MB apk file to your existing Android wall tablet: via the web-based file manager of Fully Kiosk (PLUS license) or with a USB cable.
- A Home Assistant user for the tablet, plus a long-lived access token for that user (explained below).
Download Kiosk Satellite
All documentation and downloads are available on GitHub: https://github.com/jxlarrea/kiosk-satellite. The download page (https://kiosksatellite.com/download/) offers a “Universal” build in case you’re not sure which build fits your device. To keep things simple, I’m sticking with the Universal build. Click the download button at the bottom of the page.

Once the apk file is downloaded, you need to get it onto the tablet. Since I’m replacing Fully Kiosk, I can use Fully’s web interface to upload files. If you don’t have the Fully PLUS license, you can transfer the file to the tablet with a USB cable instead.
In Fully, go to Settings >> Remote Administration (PLUS) >> enable File Management on Remote Admin.
Next, open the Fully web interface. In Home Assistant you can reach it via the Fully Kiosk integration, or browse to the tablet’s IP address on port 2323 (http://<device ip>:2323).
In the Fully web interface, click the Menu button in the top left corner and select Manage Files.
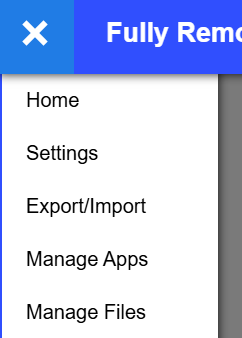
Don’t select a specific storage location; go straight to the Download folder as shown below:
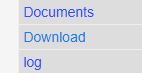
Upload the apk file using the icon in the top right corner:
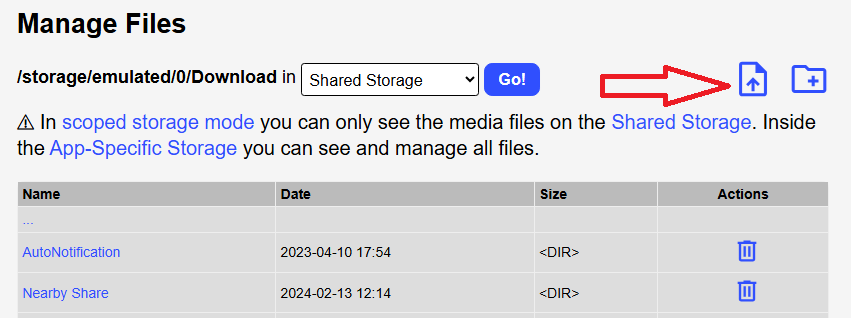
Uploading roughly 225 MB this way takes a few minutes, so keep the browser open and be patient. Once finished, the apk file shows up in the list.
Install Kiosk Satellite on the tablet
On the tablet, navigate to the apk file via My Files >> Downloads and tap the “kiosk-satellite.apk” file.
Most likely, installing apps from unknown sources isn’t allowed yet. In that case, a popup asks you to allow it. Tap Settings and enable the “Allow permission” slider. Go back, and the installation prompt for the app appears.
Create a long-lived access token
The installation takes a minute, so in the meantime let’s create a long-lived access token for the Home Assistant user the app will use. I prefer doing this on my desktop, because it’s much easier to copy and paste the token into the Kiosk Satellite web interface, where I’ll do the rest of the configuration as well.
- Log in to Home Assistant as the user the tablet will use.
- Click the user profile at the bottom of the sidebar and open the Security tab.
- Under Long-lived access tokens, click Create token, give it a recognizable name (for example the tablet’s name) and click OK.
- Copy the token right away, because Home Assistant shows it only once.
Welcome screen
Once the app is installed, tap Open. You’ll land on the Welcome screen. Set the language and device name, and enable Remote Administration. Once the remote administration password is set, you get a URL from which you can do the rest of the setup on your desktop:
http://<device ip>:2324
At the bottom of the Welcome screen you can grant certain permissions. For each one, a popup appears on the tablet to allow or deny it.
Connect screen
Enter the local Home Assistant URL and port, plus the long-lived access token you created earlier. Then click Validate and Continue at the bottom right. The app uses this token to communicate with Home Assistant with that user’s permissions.
Dashboard
You may already have set dashboard visibility per user, but here you set the start view for this tablet.
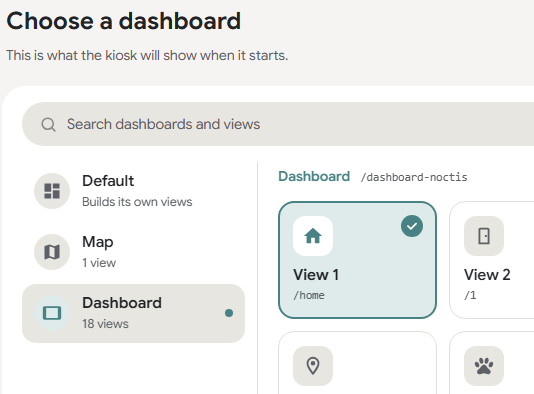
Voice Satellite
I’m not using voice, so I disabled that slider but kept all other sliders enabled.
Permissions
Additional permissions can be granted with the Grant permission button in the middle of the screen. More popups may appear on the tablet.
Once everything is saved, press Continue. The initial setup is now finished and the app restarts.
You might see the Home Assistant sidebar appear again. Open the user’s profile on the tablet, go to the settings for this browser and select, for example, Always hide the sidebar.
You’ll also notice that the web interface on your desktop has changed and now offers more in-depth configuration options. Which settings you change is personal, but let me walk through the ones that mattered most to me.
Overview
When an update is available, it’s shown here and can be installed from here. This isn’t the only way to get updates to the tablet, though. A more convenient way is via the ESPHome connection.
ESPHome
Via ESPHome, app updates appear in the Home Assistant Updates section, and the tablet’s entities are published to Home Assistant as an ESPHome device. Let’s enable this feature first. A few settings are relevant here:
- Expose kiosk entities
- Encryption key
- Node name
Before going any further on this page, let’s add the tablet to ESPHome.
Don’t create a new device in the ESPHome Device Builder. Instead, go to Settings >> Devices & services in Home Assistant, where your tablet may already be discovered. If it isn’t, open the ESPHome integration and add a new device using its IP address and port 6053.
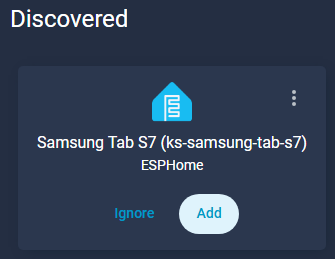
Click Add >> Submit >> enter the encryption key from the ESPHome page in the Kiosk Satellite web interface >> Submit >> set the area and click Finish.
The ESPHome device is now created, but its entities aren’t there yet. On the ESPHome page in the Kiosk Satellite web interface, enable “Expose kiosk entities” and all tablet entities show up on the ESPHome device right away.
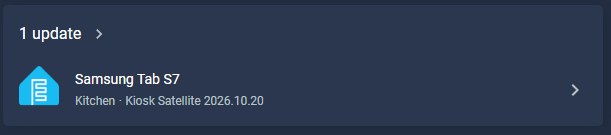
The app update we saw earlier in the Kiosk Satellite web interface is now also visible in Home Assistant:
Permissions Manager
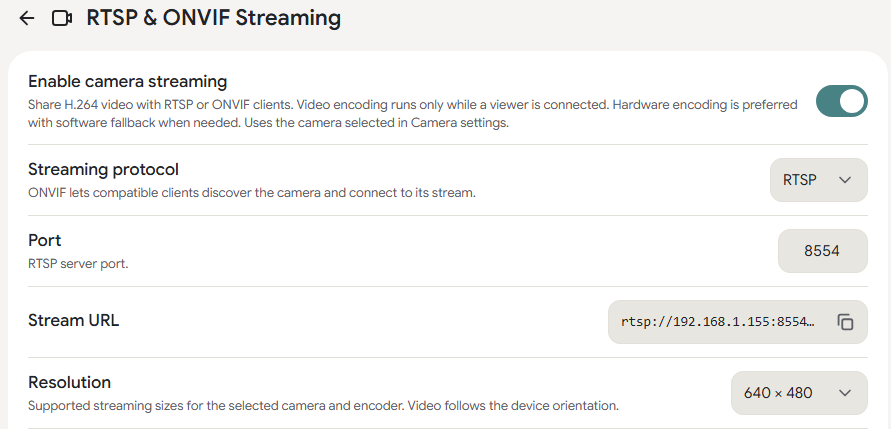
Camera >> Grant device. This enables the Camera page in the left sidebar. I use the tablet camera’s RTSP stream in my general camera dashboard.


Web Browsing
I set the zoom level to 0.85x for better readability on the tablet screen and enabled Pinch to Zoom:

Device updates
Back in the Kiosk Satellite web interface on the desktop, go to System >> Device >> Shizuku. Just enabling this isn’t enough. The GitHub documentation explains how to set it up via USB debugging, but I couldn’t get it to work reliably, neither on Android nor on LineageOS, on both of my Lenovo ThinkSmart devices. So I decided to take a different approach.
Earlier in this post I showed that app updates are offered via the Home Assistant Updates section. Once you start an update there, the new version is downloaded and pushed to the tablet. The only thing left is tapping “Install” on the tablet itself. The rest happens automatically, and the Kiosk Satellite app restarts once the update is done.
Since each Kiosk Satellite app only checks GitHub for updates every 12 hours, the tablets are very likely to run different versions at times. To keep an eye on this, I’ve added the update status of all my tablets to my System Health dashboard.
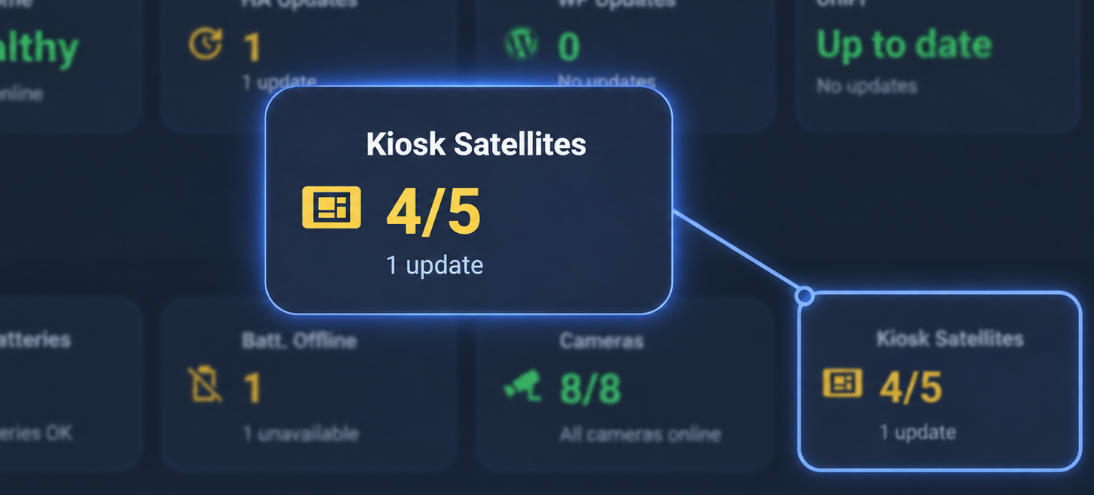
Clicking this card opens a popup showing all Kiosk Satellite devices, their current app version, the latest available version, and whether an update is available.
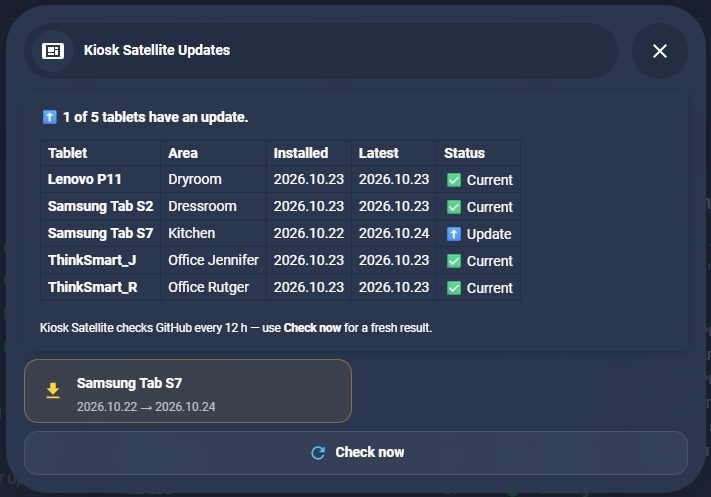
Clicking the device name button above “Check Now” starts the app update for that tablet.

Meanwhile, I walk over to the tablet and tap the Install button. Once the update is finished, the device button disappears from this screen:
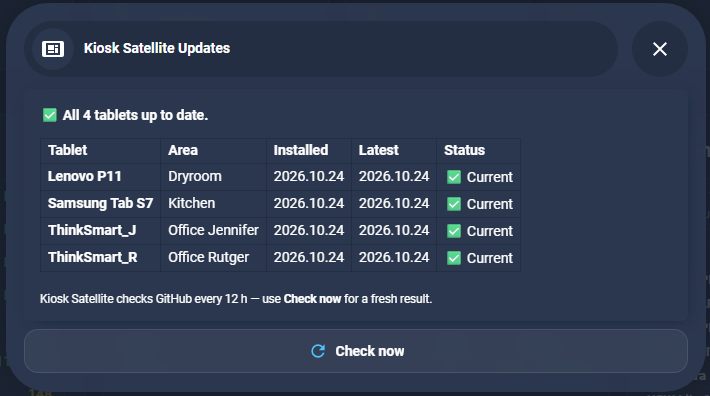
And the main card on the dashboard homepage turns green, with no updates left to do.
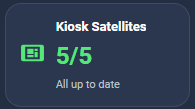
I recorded a short video showing how I maintain and visualize the app updates on this System Health dashboard:
Facebook: https://www.facebook.com/share/v/19jaMxoEW3/
I’m still looking for a way to get Shizuku working reliably, or another alternative, since for now I still have to tap “Install” on each wall tablet.

Related Posts
Install ESPHome on a Waveshare ESP32-S3-POE-ETH-8DI-8RO-C WiFi Relay Module
Flashing ESPHome onto a Waveshare…